Route hose thru firewall or behind kick panel thru floorboard and out to water pump connection.
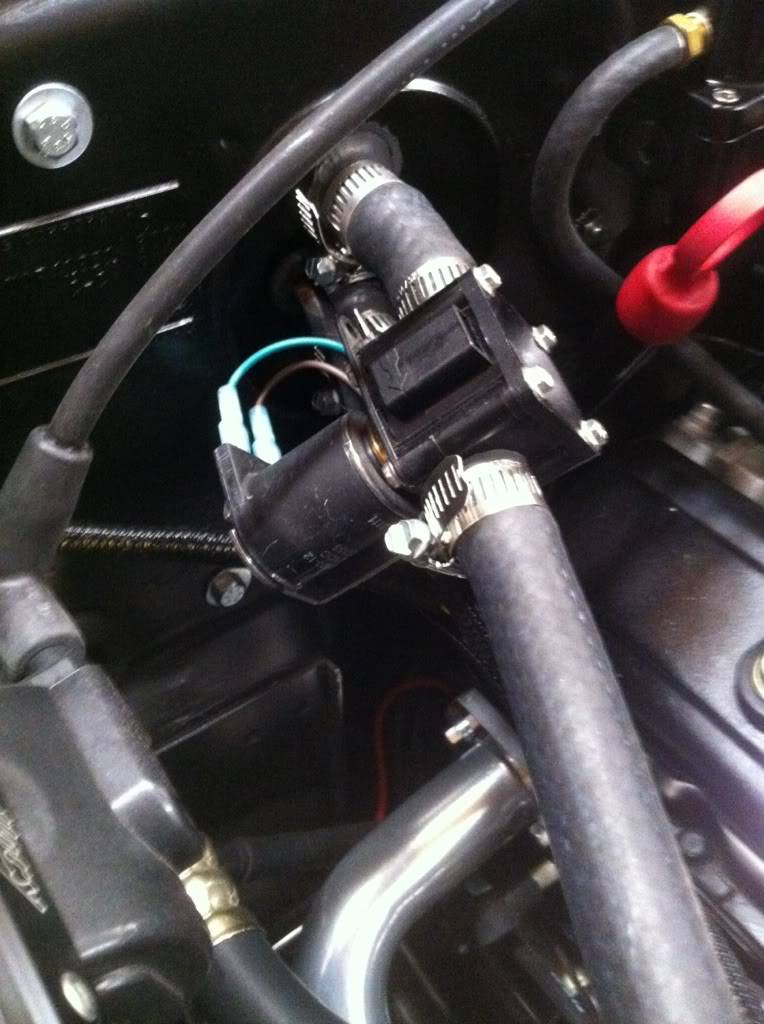
Vintage air heater control valve installation.
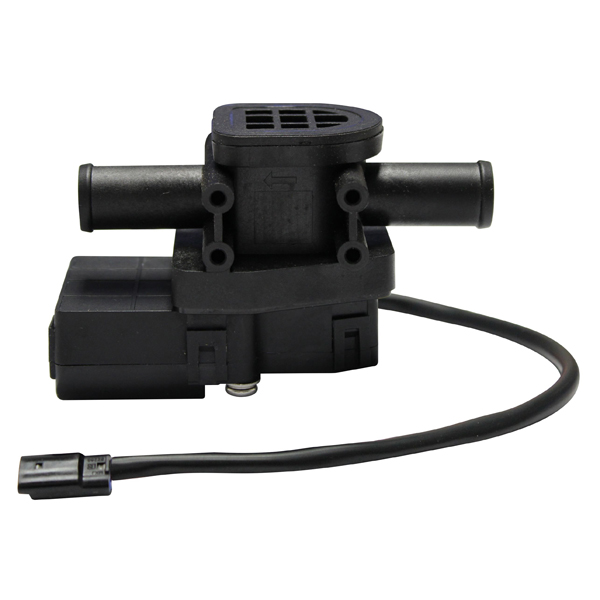
They offer replacement vacuum cable and electronic servo operated models to fit their systems with renewed performance.
Be sure to follow flow arrow on heater control valve install 5 8 heater hose on the remaining heater tube.
It is not necessary to insulate the ends of the large green wire.
Push the terminal inward until it locks into place.
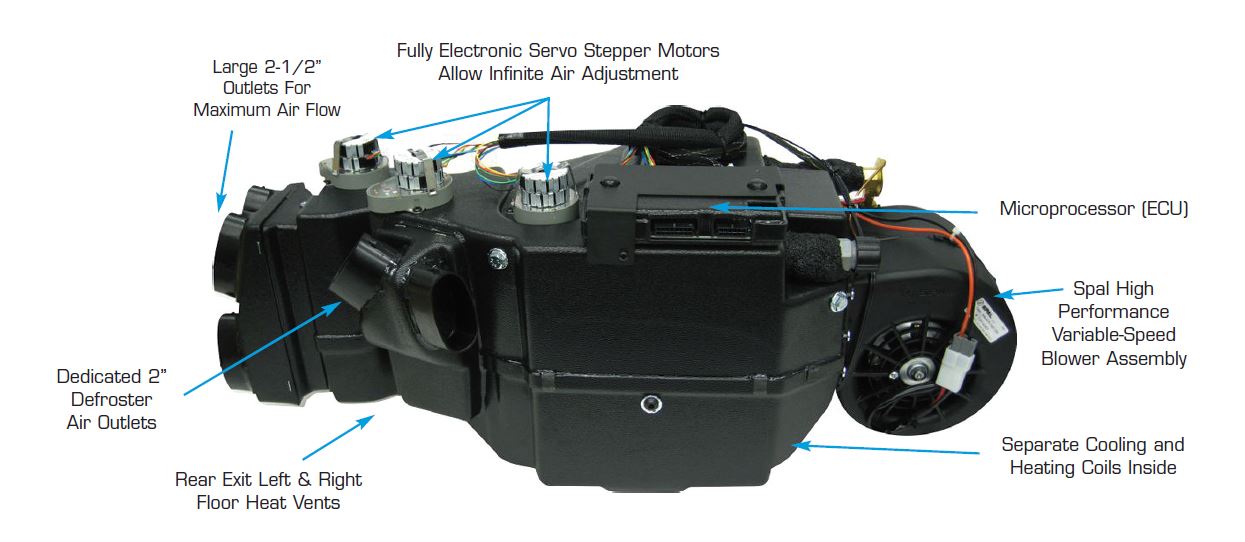
Vintage air has created an exact reproduction of the most popular under dash air conditioner ever made.
We show you how to install a vintage air compac gen ii a c system in a 1941 ford woodie.
Heater control valve installation.
Pressure see figure below.
Dealer login shopping list.
Control wiring harness note.
Vintage air installation instructions looking for an older installation instruction click here to view our instruction archive.
Note flow direction arrow molded into valve body and install accordingly.
Cobra wiring diagram with servo heater control valve 461171 update.
The heater control valve is a directional valve.
Install the heater control valve in this line.
Using wire cutters cut the large green wire in two places as shown.
Failing to install the heater control valve in the correct hose will allow water to collect in the unit.
The servo on the water heater hose is working exactly opposite from what it should.
Mount circuit breaker as close to battery as possible.
If your heater s not working properly or you see indications of coolant leaking you may need to replace the heater control valve.
It will not be used with the new heater control valve.
Most heater control valves are directional and must be correctly oriented in the.
Vintage air part 2.
The timeless look of chrome and real steel combined with vintage air s proven performance makes the new mark iv a great choice for your period perfect ride.
Vintage air replacement heater control valves ensure the proper functioning of your heat and air conditioning system so your vehicle s interior compartment is comfortable year round.
When we put the unit into a c mode the valve opens and allows full hot water flow through valve thus heater core.
Install with servo motor facing down as shown.
The mark iv features an all steel case built from the original tooling.
49110 shx 49110 shz system click here for closest wiring diagram online.
Red may run to battery or starter.
Intake manifold heater connection.
Here is our problem.
Make sure the water flow follows the direction of the arrow.
As the engine heats up the water transfers heat to the coil thus overpowering the a c coil.